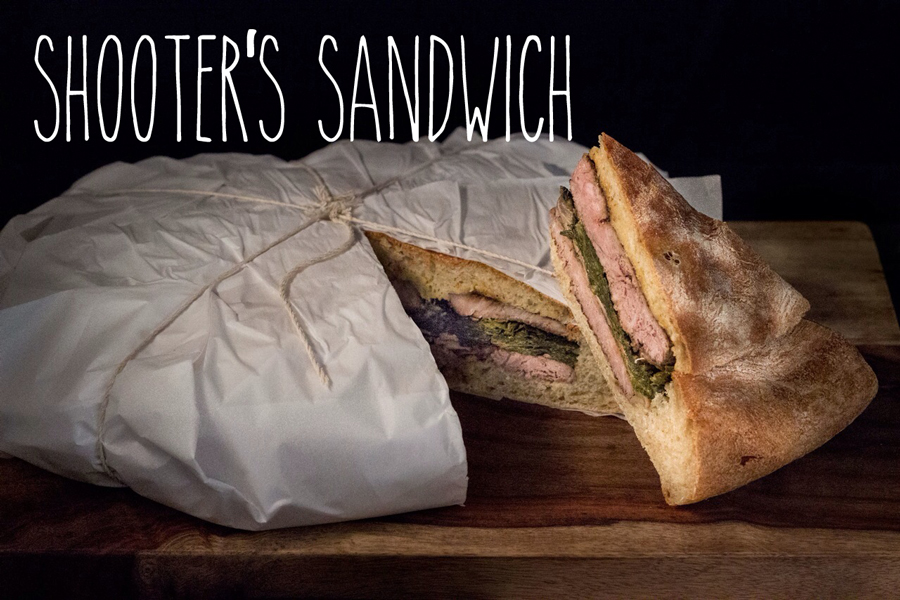
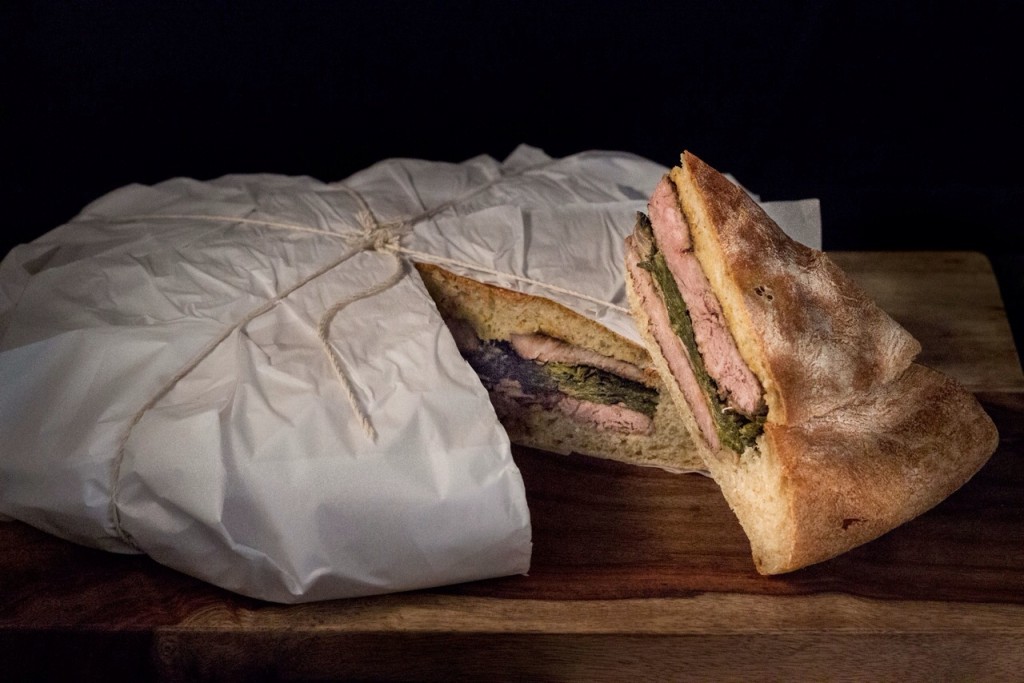
We are so lucky to know so many talented people. Since all the wedding planning is behind us, we’ve committed to upping our game on the blog a bit. One thing that we really needed a push on is our photography. We generally have to shoot at night, after work because that’s our only free time. So the luxury of wonderful daylight lighting isn’t generally available to us. So we’re going to jumping and buy some lights. Our good friend Don Dudenbostel was kind enough to give us a crash course, and more than anything take the fear out of it. Don is a bit of a legend in the photography business. Make sure to check out his Facebook as well. Together we shared with he and his wife Cynthia a Shooter’s Sandwich. Traditionally, this was an all-in-one meal that hunters (stalkers), or fishermen could take on the day trip with them and it was ready to eat, easily managed, and most of all convenient.
 We chose to make our loaf of bread at home, but you could start with any crusty loaf. This particular recipe for the bread was from King Arthur. It turned out just about perfect although we could have formed it a bit taller and less round. The rest is pretty simple, I won’t go into how we braised the collards (Garlic, Beer, and Apple Cider Vinegar, Benton’s Bacon Grease), just use your favorite method. It would be great with added onions or your favorite cheese as well. Hindsight, we would have used a ribeye with a little more fat, and cooked it more medium than well-done. But it turned out to be great with an enjoyable evening with friends accompanied by wine and home fries.
Since you can mix and match ingredients, here’s some basic steps. Add your favorite veggies, sausages, cured meats, cheeses, etc.
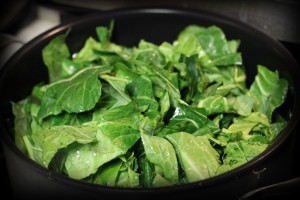
We braised our collards ahead of time and drained well.
Next, in a medium saute pan on medium high, sauté mushrooms, onions, garlic (or whatever your choose), in some olive oil until cooked down and soft. Season with salt and pepper. You can do this a day ahead if it helps.
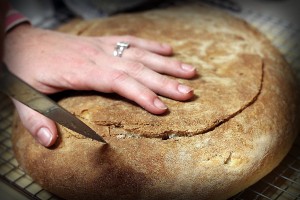
Next step is to select a nice loaf of crusty bread (or make it!). Cut the top off and hollow out the center. Use the center for croutons or soup… don’t throw it out!
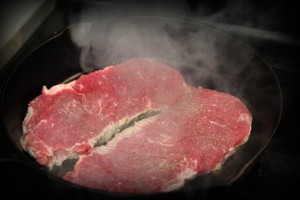
Next, you’ll need your steaks…4 of them! (in this case it was strip steak, next time it will be ribeye or something a little fattier). Season your steak with salty and pepper. Bring a cast iron skillet to a very high temperature. Smoking hot folks! No oil needed. Drop in your steaks and sear on each side until internal temp is about 140°. You still want some pink but you also want a nice crust. Now all your ingredients are cooked!
To assemble: Tuck two steaks into the bottom of the loaf. Then a layer of 1/2 the mushrooms. Then squeeze out as much juice as you can from a 1/2 of the braised collards and spread that out. Repeat with the remaining steaks, mushrooms, collards.
Top the lid with your favorite condiment. Here we used a mix of mayo, mustard, and some Woshtershire sauce. And pop the hat on your sandwich.
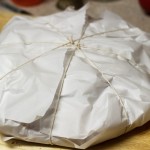
Wrap securely in parchment and tie up with butcher’s twine (or any string really as it’s not touching your food). If you want to be extra careful that it doesn’t leak, also wrap in aluminum foil.
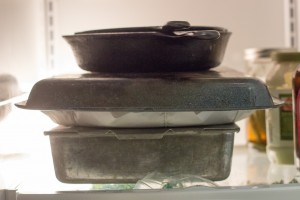
Place on a flat surface in your fridge and top with a baking sheet. One top of it put something heavy (cast iron skillets, a mortar, cane of veggies, a cannonball, whatever) and leave in fridge 6 hours or overnight.
The next day, you’re all set to go!

